At Finishing Touches Picture Framing, we recently had the pleasure of framing a remarkable 100-year-old beaded bag that was rich in history and beauty. Handling such a delicate and precious object required special handling and a deep appreciation for its significance.

Lovely hand-beaded bag
Our first step is always talking with our customer to learn about their item and understand how they would like to see it framed. Together, we decided on a lovely blue for the background color and a patterned silver frame reminiscent of the era of the bag.

Beginning to plan the design.
The mat is for color ideas only. We purchased a 100% cotton fabric in a similar color and prepared it by hand washing to remove any excess dye and chemical residue.
This bag originally belonged to our customer’s grandmother, and although it was lovingly cared for, it’s fragile due to its age. If you were to examine it closely, you’d see that each glass bead is strung with thin cotton thread. The beads are glass, so the bag is heavy, and the sheer weight of the bag puts a strain on the cotton thread. We could not risk stitching the bag down as we often do with textiles because we were afraid that any pressure on the threads could cause them to break.
Magnets were the logical choice for the job. A rag mat with an opening the size and shape of the bag was cut to allow maximum hold for the magnets, and then the mat was covered tightly with the prepared fabric.
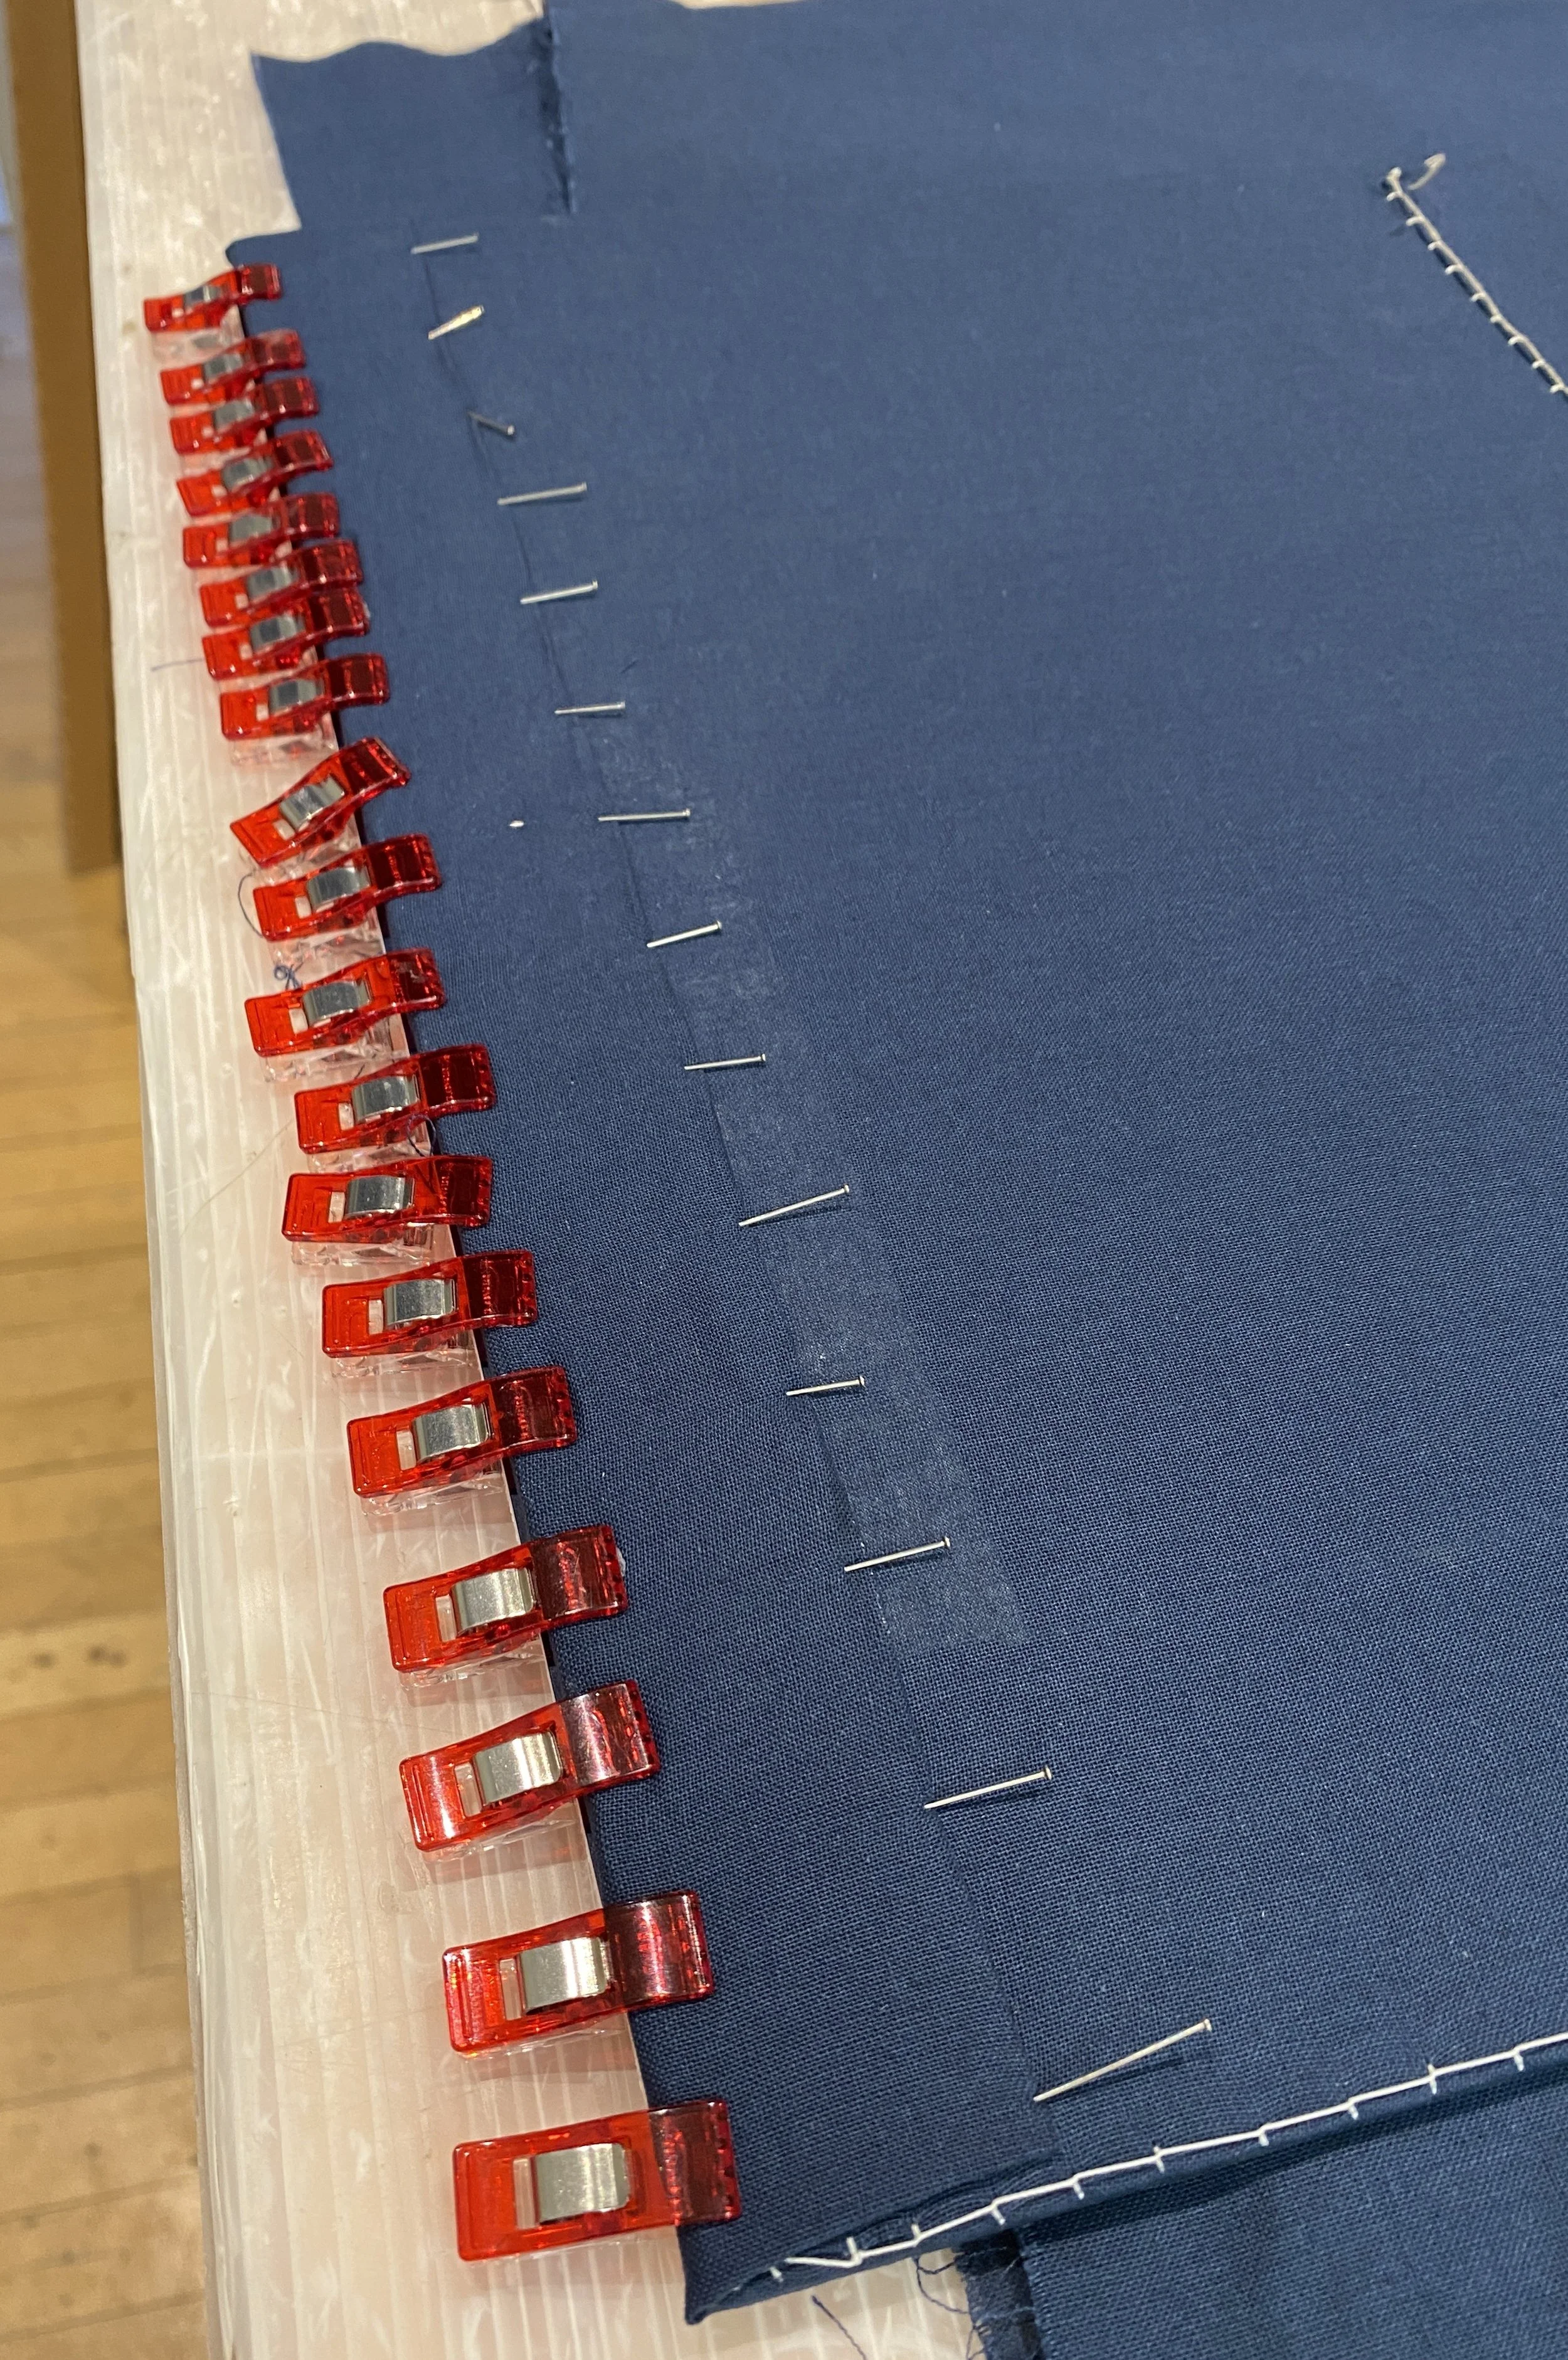
White thread was used for clarity in the photo.
The magnets were placed on the inside of the bag securing the bag in place.
A support for the top was constructed from the blue backing fabric. It was a couple of inches longer and just a bit narrower than the channel holding the bag closure. The support fabric was threaded through the back channel and the support under the beads was hand stitched to the base fabric. You can see in the second photo that I had to gently lift the beaded sections up and hold them out of the way to stitch the support fabric to the base fabric.

Bag with magnets and support strip inserted into back channel.

Hand stitching the support fabric to the backing fabric.
A layer of polyester batting was cut to the correct size and shape and carefully placed within the bag to cushion the bag and also prevent the front of the bag from sagging.

Support fabric secured to the backing and polyester batting inserted.
Next a second support fabric was threaded through the front channel and the two support layers were stitched together ensuring that the top of the bag is supported while nothing is stitched through the beads.

The two support layers stitched together.
The excess support fabric was threaded through a slot cut into the backing and stitched securely to the back.
The photo below is the view from the back. It shows the stitches tightly securing the fabric around the rag mat, the magnets in place, and the ends of the support fabric stitched securely in place.

View of the back.
Once the bag is carefully mounted, the frame is built with shadowbox details covering the inside edges. This not only dresses up the interior of the frame but also ensures that the Museum Glass will sit high enough above the bag so there is space between the bag and the glass.
What a beautiful family heirloom! The bag is protected and will be enjoyed and appreciated by generations to come as the true work of art that it is.

The finished beaded bag.